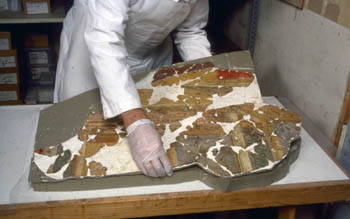
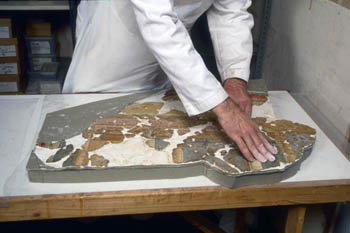
Mounting reassembled fragments on to Tricast Polyurethane supports.
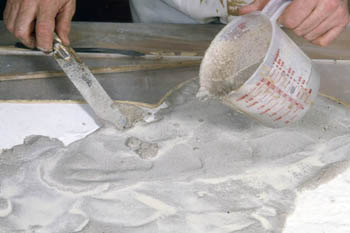
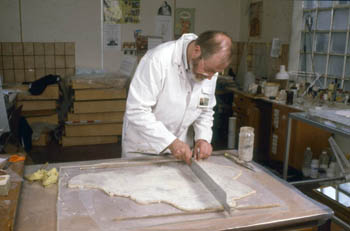
Once each section of the painting had reached this stage, a three millimetre thick layer of synthetic mortar was applied to its rear surface. A wall of (modelling) wax was built around the section. This was of such a height as to contain the correct thickness of synthetic mortar. The synthetic mortar was added and when the section was completely covered the surface was levelled.
When several days had passed and the mortar backing had hardened sufficiently, the alignments were checked and drawing film patterns were made for the 6mm. and 38mm. thick layers of Tricast 5 (polyurethane foam sheet). The 6mm.sheets of Tricast were cut with a hand fretsaw, and then cemented to the rear surface of the synthetic mortar using the basic PVA mixture.
The 38mm.thick sheet of Tricast 5 was cut in a similar fashion, and a coat of glass fibre mat and resin was added to its top surface. The painting section, synthetic mortar and 6 mm. Tricast sheet assemblage was turned over so that the faces of the two Tricast sheets faced one another, then they were pressed together until they were firmly bonded .
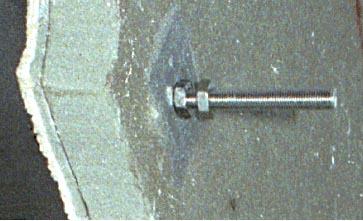
After the assembly had set and the painted surface had been protected with a sheet of polythene film, the whole was turned on its face and the stainless steel bolts inserted. These were secured with two inch square stainless steel washers cemented with fibre glass ribbon, mat and resin. A final coat of glass fibre mat and resin was given to the rear of the assemblage, the screw threads of the bolts having been protected from the resin by covering them with masking tape.

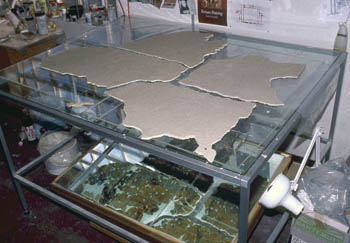
Four blank panels were made up from 38mm. thick Trycast 5 sheet to fill the empty spaces in the display. These and all the bare areas of the other sections were given a thin coat of synthetic mortar, and while the surface was still wet, sieved and sifted Roman mortar waste was sprinkled on the synthetic mortar. When dry this gave the appearance of unplastered Roman mortar.
When all nine sections of the painting had been assembled the drawing film patterns referred to above were taped together and a large master pattern of the complete rear surface of the painting with the position of the fastening bolts marked was prepared so that the mild steel support frame could be made to measure in the museum workshops.
The templates were also used by the workshops to make individual boxes for the storage and transport of each section of the painting. These boxes are now stored in the back of the painting’s display case in the Roman gallery. It was felt to be important that this packaging should be retained so that some future conservator, faced with the task of disassembling the painting, will be materially assisted by having the original storage boxes available.
The final setup can be seen to the left, with all the various layers of the restored painting and support visible. From left to right they are:-
the plaster and mortar layers, the polyurethane release layer, the fibre glass mat and resin layer, the main polyurethane support layer, the final layer of fibre glass mat and resin. The two inch square stainlesss steel washer holding the stainless steel bolt is just visible beneath this final layer